5 Zone Event B-Roll Checklist: Editor-Ready for Conferences
%20(1)%201.png)
.png)
.png)
August 18, 2026
%20(1).jpg)

Start with a square (1:1) crop for social and directory profiles, or 4:5 portrait for bio pages, then export at 800x800px (square) or 800x1000px (portrait) in JPG or WebP under 150 KB. That single decision solves most of the headshot cropping for web problems people run into.
Here’s the fast path:
Consistent eye-line placement and a locked crop ratio matter more for a professional team page than which exact aspect ratio you choose.
| Point | Details |
|---|---|
| Pick ratio by destination | Use square for LinkedIn and grids, 4:5 or 3:4 for bio pages, landscape for banners. |
| Shoot big, crop down | Start with a 2000x2000px source so you can pull multiple ratios without losing quality. |
| Respect the safe zone | Keep eyes and chin inside the center 60 to 70% to survive circular masking. |
| Budget your file size | Target 80 to 150 KB for most web headshots to protect page load speed. |
| Lock consistency with studio2U | studio2U’s on-site programs fix eye-line, ratio, and export settings before the shoot starts. |
The ratio you pick depends entirely on where the image lives, not personal preference. Square (1:1) dominates LinkedIn, team directories, and app avatars because grids need uniform tiles. Portrait ratios (4:5 or 3:4) suit standalone bio pages and “About Us” sections where you have more vertical real estate to work with. Landscape crops belong almost exclusively to hero banners and cover images, where the face shares space with text or background.
Common website dimensions run from 600x600px up to 1200x1200px for square crops, and roughly 800x1000px for 4:5 portraits, with file sizes kept in the 80 to 150 KB range for fast loading. A useful anchor point most teams skip: performance budgets that split by use case, running 20 to 80 KB for small grid cards and 80 to 200 KB for larger bio images.

Pro Tip: Shoot or scan at 2000x2000px minimum. A large source file lets you pull a square, a 4:5, and even a landscape crop from the same original without losing sharpness.
LinkedIn accepts uploads as large as 7680x4320 pixels but recommends working at a recommended working size around 800x800 pixels, with a recommended minimum size that meets platform usability standards and an 8MB file cap. The platform displays every profile photo as a circle, which means it silently crops your square upload into a mask. Anything near the corners of your image gets clipped.
This same logic applies beyond LinkedIn: team grids, app icons, and Slack-style avatars all use square-to-circle or square-to-rounded conversions behind the scenes.
Before you upload anywhere, run this check:
LinkedIn’s own spec sheet recommends an 800x800px working size, with 400x400px as the hard floor for a usable profile photo.
Eye placement matters more than most people realize. Position the eyes roughly 60 to 65% up from the bottom of the frame, which creates a composition that reads naturally whether it’s displayed at 800 pixels or shrunk to a 56 pixel thumbnail in a comment feed.
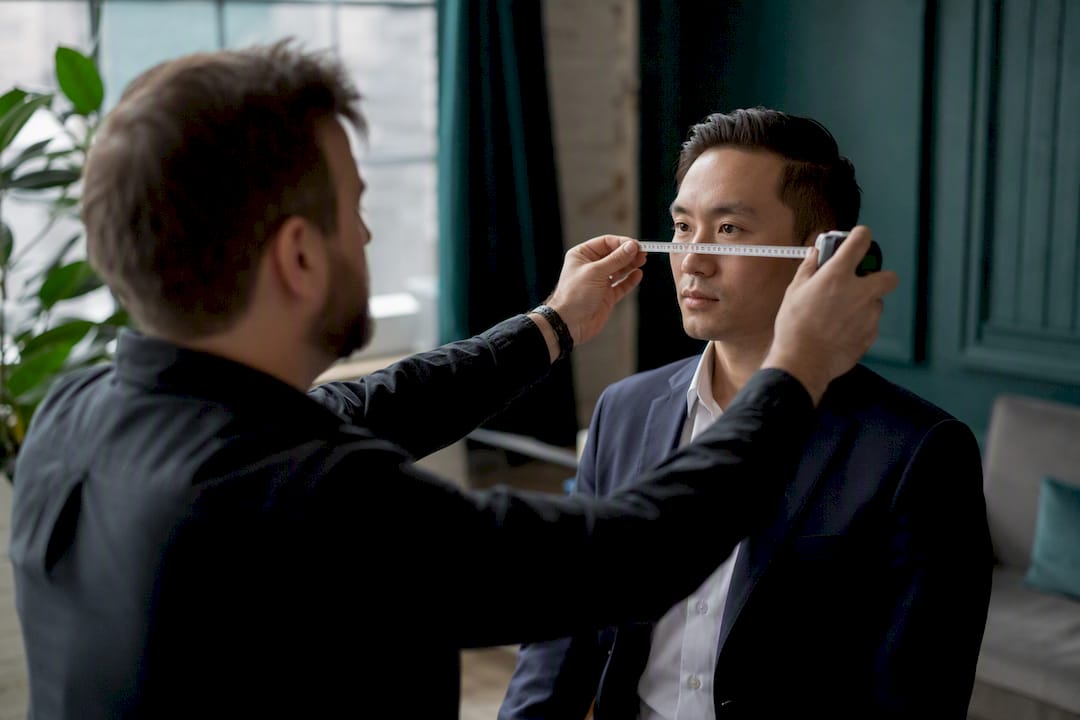
Face size matters too. Aim for the face filling a majority portion of the frame, leaving enough breathing room for a natural look depending on the platform, leaving enough headroom that the crop doesn’t feel claustrophobic, but not so much that the subject looks lost in negative space. Include a sliver of shoulder for context; it stabilizes the composition and avoids the floating-head effect.
Avoid these framing mistakes:
Pro Tip: Always deliver a square source file, even for platforms that show a circle. Mentally overlay a circle on your square crop before exporting. If the ears or top of the head fall outside that circle, recrop.
A reliable workflow follows the same five steps regardless of which tool you open:
For the actual cropping, a handful of tools cover almost every scenario. Adobe Express offers free, LinkedIn-ready resize and crop templates that handle the common ratios in a couple of clicks. Canva works well when you need a repeatable template across dozens of team members, since you can lock a frame and swap photos in and out. Photopea is the closest free equivalent to Photoshop for anyone who needs layer-based control or batch actions without a subscription. Magic Crop, the face-aware cropping tool built into PoloClub’s browser-based demos, automates centering for large batches, though automated crops still need a manual glance to catch mis-framed poses.
That single page saves a dozen follow-up emails.
A studio-grade workflow locks decisions before the camera ever comes out: a pre-shoot style brief, a lens choice in the 70 to 105mm equivalent range for flattering compression, and a fixed eye-line and crop ratio applied to every subject. On-site quality checks catch inconsistent framing immediately, and the corporate headshot attire guidelines get locked in the same brief so wardrobe doesn’t undercut the consistency you just built.
Set a per-image file-size budget up front so nobody exports a 4 MB portrait six months from now and breaks the pattern.
The wrong aspect ratio for the destination causes more layout breakage than any other error, especially when a landscape image gets forced into a square container and centers awkwardly. Oversized source files are the second most common issue. Uploading a 4,000 pixel image and letting the platform compress it produces worse results than resizing it yourself first.
Inconsistent head sizes across a team page are the easiest mistake to overlook and the hardest to unsee once a visitor notices it. And skipping the circular-mask test means someone’s ear or hairline gets clipped the moment LinkedIn renders their upload as a circle.
Planning the crop before the shutter clicks beats fixing it in post every time. When every subject is framed to the same eye-line and ratio, designers template the layout once and export the rest automatically instead of hand-tweaking fifty individual files.

Editing dozens of individual crops in Canva or Photopea works for a solo profile photo, but it falls apart once you’re managing a 40-person team page or a multi-office roster. studio2U replaces that manual grind with an on-site headshot program: one photographer, one lighting setup, one locked crop ratio, applied consistently across every person on staff.
Turnaround runs five business days, and the same crew can extend into PR headshot requirements or broader branding photography if you need it. If your team page currently looks like ten different people took ten different photos, book a studio2U shoot and get every headshot cropped, sized, and exported the same way from day one.
For square crops, export between 600 and 1200 pixels; for 4:5 portraits, 800x1000 pixels works well, with file sizes kept between 80 and 150 KB for fast loading.
Lock your eye-line and crop ratio before shooting, use a 70 to 105mm equivalent lens for flattering compression, and shoot at a high enough resolution to crop multiple ratios later. studio2U builds this planning into every on-site shoot to avoid re-shoots.
Most CMS platforms include a built-in crop tool, but it’s better to crop and resize to exact pixel dimensions beforehand using a tool like Adobe Express or Photopea, then upload the finished file.
LinkedIn accepts JPG and PNG files up to 8MB, though a properly resized 800x800px JPG or WebP under 200 KB will load and display far more reliably.
